Bracknell is the eighth level in Resistance: Fall of Man.
Synopsis
After surviving the destruction of Southern Command, Hale abandons the British resistance as they retreat to their last stronghold and enters the Chimera's network of underground tunnels, hoping to infiltrate deep into enemy territory and see what he can learn.
Walkthrough
 |
This page needs to be cleaned up!
This article, Bracknell (level), or a section of this article may require overall cleanup. |
Into the Depths
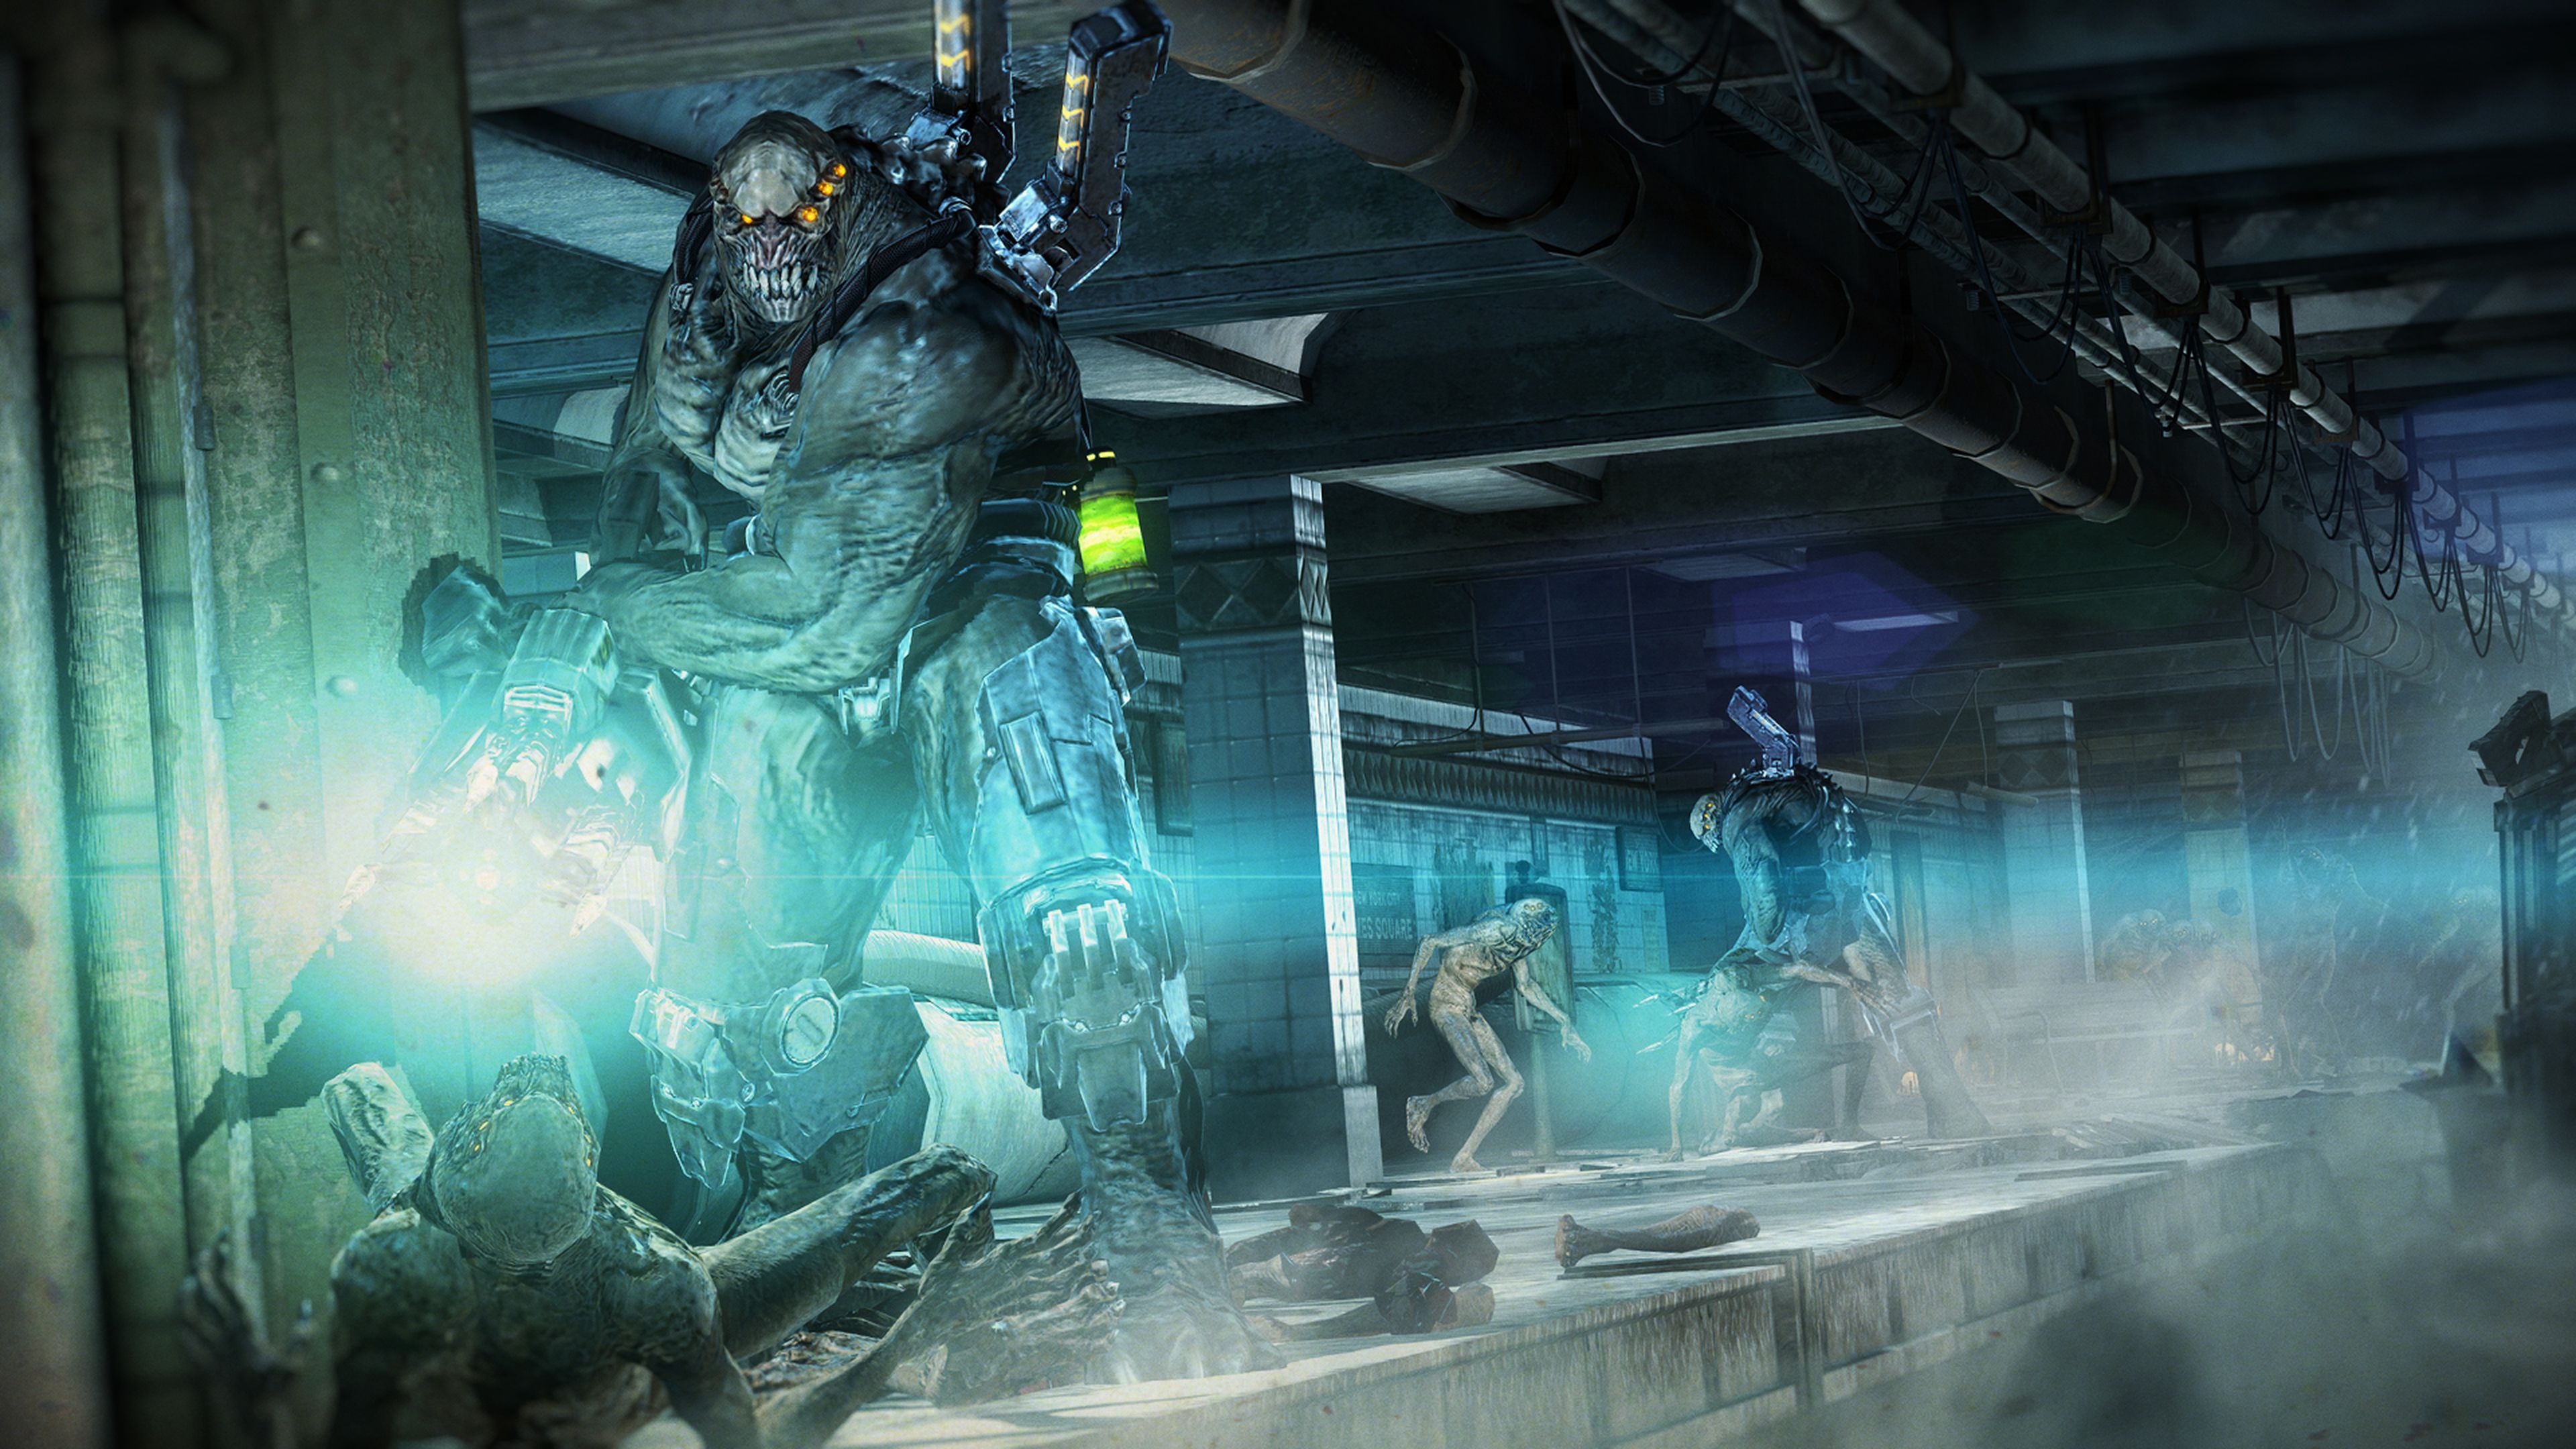
The level starts you off in the Chimeran Tunnels. Move foreward into the open area and bash the two Menials. Several more Menials will be making their way toward you from the next room. Bash them and use your Dragon on the Gray Jack that is following up behind the Menials. In the next open cavern there will be several groups of Leaper Pods. Use your Dragon on them to take them out before they hatch and then head up the metal ramp along the back wall. Roast somemore pods and move through the next hallway. In the next cavern several Menials will begin coming toward you. There are also three Gray jacks in the room as well. Move into the room and then fall back as you lure the Jacks into the hallway. Use your Dragon on them and the Menials. After they are dead two Hybrid and a Steelhead will enter and begin firing on you from across the room. Distance m5 them and head toward where they were firing at you from. Enter the next hallway and switch to your Bullseye. As the hall begins to shift into the next cavern room you will see a health back at the bottom. When you near the health three Hybrid will charge out from the right. Bullseye them down and continue on. In the next cavern there will be several Menials hanging out near an explosive ball. Shoot it and ruin their day then proceed on. At the end of the room on the right is a winding ramp leading upward. Take the ramp and continue on until it opens into a large platform room. Once you hop down off the ledge you are on enemies will begin to show up on lifts from either side of the mining platform. Equip your dragon and stay mobile and burn them down. Here is a break down of the order the lifts show up in and what enemies they contain. Lift 1: Upper left from your initial drop in. Contains: 2 Hybrid. Lift 2: Middle Right. Contains: 2 Hybrid. Lift 3: Bottom Right. Contains: 1 Gray Jack. Lift 4: Bottom Left. Contains: 4 Menials. Lift 5: Upper Right. Contains: 1 Gray Jack. Lift 6: Middle Left. Contains: 1 Gray Jack. Lift 7: Middle Left. Contains: 2 Menials and 1 Hybrid. Lift 8: Middle Right. Contains: 2 Hybrid. After all the enemies are dealt with the door opposite of the way you came in will open. Head through the doorway into the next cavern and wind around to the right. There will be a large hole in the floor. As you draw close to the hole a swarm of Rollers will attack. Backpeddle as you burn them down with your dragon. After they are gone drop down into the hole and you will end up in another tunnel that is sloping upward. A short distance from the bottom there will be several Leaper Pods. Torch the pods with the Dragon and continue up through the tunnel. The tunnel will lead you to another drop. Drop down and make your way up another tunnel leading up. This tunnel leads to a very large cavernous champer with massive electrical conduits running through the room. Make your way out onto the conduit directly below you. Continue along the conduit until you are out from underneath the one that is above you. At this point switch to your Fareye and look to your left. You will see three Slipskulls jumping around on the wall to your left. Use the Fareye and its time slowing focus to bring them down. After they are gone move to the end of the conduit and onto the platform on the left. Make your way to the other end of the platform and step onto the next conduit. Instead of moving along this one look out and locate two exhaust fans. Jump toward this one to be blown upward by the stream of air. Steer yourself to the next stream of air and finally to land on the next conduit. After landing look ahead and next to the wall for the next fan. Jump onto that one to be blown up to the next conduit located above you. Move along this conduit until it ends. When it runs out step onto the platform on the left, climp a ramp, and onto another platform. Follow the ledge as it works its way upward. It will end with a small conduit and a fan on the right. Ride the fan's exhaust to the next conduit. Proceed up this one till you arrive at two more fans on the right. Before you use the fans to reach the platform across from you switch to your Faryeye. Look out onto the next platform. There will be several Menials, some Hybrid, and alot of explosive balls. Snipe the balls causing them to clear out the enemies on the platform. Now use the two fans to reach the now empty platform. After moving out onto the platform a Hardfang will attack, drop him with your Fareye and move toward the way he came. Follow it around until it ends at a conduit. Move upward along this new conduit until it ends with another platform on the right. Jump out onto the platform and move along it till you find a tunnel leading up. Equip a Backlash Grenade and crest the hill. Deploy the nade at the top to shield you from the Hybrid and Steelskull while you bash the Menials. Move to the other end of this area to find another tunnel leading upward. At the top you will be at a conduit junction. Switch to your Dragon and move into the narrow path on your left. Tucked behind the conduits along this route are several Hybrid and a Hardfang. Move slowly through here making sure to check corners as you progress. Burn the enemies down and follow the path till it ends with an opening into the center conduit. Stepping into the center will end the level.
In a Darker Place
This level will start with you riding a lift up into a large room. This room is swarming with Menials. Bash your way through them and make your way to the safety of a wall. Switch to your Dragon and light them up as they get within range. Also pick up the rocket launcher directly ahead of your initial start position. It is next to the dead soldier on your right. Stay tucked into one of the alcoves along the wall because once the Menials are dead several Hybrid will invade the area. Switch to the Fareye and take them out as they move into sight. After they are dead one of the wall alcoves will contain a lift. Ride it up to the next level. Equip the Hailstorm and slowly move along the path on your left. As you get near the Leaper Pods two Steelskull will attack. Deploy an auto turret and take cover. After they are dead switch to the Dragon and nuke the pods. Repeat this strat twice more as you move through this area. This section will end with a doorway on the left. Move through it and into the next cavern. Move up through this area until you reach some Leaper Pods. Torch them and toss a nade next to the two Hybrid at the end of the room. There will be an opening to a large circular room at the end of the room you are in. Use your Fareye to take out the Hybrid below you and to the left. Blast another Hybrid on your right and drop onto the floor below you. Move to your right and bash several Menials and use your Fareye on the two Gray Jacks. Continue along this path till you come to a very large door with a lock toggle on either side of it. Have your Backlash nades ready and unlock the door. On the other side is the boss.
Stalker: After the door opens throw a Backlash nade so it encapsulates the stalker. This will make it take constant damage and repel its shots back at it. While it is encased switch to your rocket launcher and finish it off. After the big guy goes down the level will end.
Intel Documents
- Conduits: Inside the second chamber to the far right in the sunken section of the floor.
- Surrounded: In the Circular mining platform to the left.
- Stranger: On top of one of the conduit lines.
Skill Points
- Karma's A Bitch (3 points): Kill all enemies in the Chimeran tunnels with only their native weapons; Bullseye for Hybrids, Auger for Steelheads, and Backlash Grenades for all.
- This is MY House (4 points): Do not let any Chimera stand on the mining platform in the Chimeran Tunnels for more than 10 seconds.
Transcript
See Bracknell, England (level)/Transcript
Gallery
")
Trivia
- This level was close to being cut, due to this the three levels are scaled down focusing on platforming and horror rather than battles.
- Environmental Artist Kory Hagney (Speaking to Lighting Artist Eric Gooch): "These levels were my true babies of Resistance. There was a point where we thought that they might be cut. I insisted that I could finish them and focused on reducing assets, and worked closely with gameplay to get some creepy enemy placements set up. This refinement went on until the very end, or at least until the cut-off for lighting. This level almost didn't make it because it was designed specifically around a hardware element which was cut. There was a whole lot of reworking in the vertical cable area to allow the player to both walk on the massive cables, and not change their placement. Platforms, platforms, platforms….It all worked out though!!" [1]
| Campaign Levels of Resistance: Fall of Man | |
|---|---|
| Campaign | York · Grimsby · Manchester · Nottingham · Cheshire · Somerset · Bristol · Bracknell · London · Thames · Tower |
- ^ http://www.cybergooch.com/tutorials/pages/lighting_rfom6.htm Creating the Lightning for Resistance: Fall of Man by Eric Gooch